Fondant vs Buttercream: The Age-old Cake Debate
Ah, the legendary cake debate: Fondant versus Buttercream! There are those who are firmly entrenched on each side of the debate, proclaiming the supremacy of their cake topper. In truth, there are many effects that you can achieve with both buttercream and fondant, and the look you’re trying to produce should dictate whether you’re working with fondant or buttercream. And in our opinion, practice makes perfect, and it just takes time to master each medium. In any case, we’d love to share with you some tips and tricks when working with buttercream and fondant to achieve your desired results.
FROSTING 101
We’ll be honest, we love buttercream! Making it, taste-testing it, and then eating a little bit more of it! There are several types of frostings to choose from, but our favorite (hands down) is American buttercream. We whip together high-quality butter, powdered sugar, vanilla extract and a couple tablespoons of heavy cream and voilà! Be patient with your mixer – the buttercream needs to be whipped for at least 4-5 minutes.
If you’ve ever made a cake at home before, you’re probably most familiar with a smooth buttercream application. Here’s our little secret to getting a perfectly smooth application: We actually use a sewing tool to get our smooth finish. It’s lightweight and so easy to use. After many trials and tribulations, the two most important things we’ve learned are to ensure your buttercream is the right consistency and practice, practice, practice (we know, that’s not the tip you wanted to hear). Once you’ve mastered this skill you can start creating unique patterns on the sides of your cake including rosettes, ruffles, flowers and rustic finishes. One of our favorite buttercream cakes is our Geode cake because there is nothing harder than getting perfectly smooth sides and sharp edges with buttercream and we think we nailed it with this one. If you can get the smooth application down, the rest will be a breeze.

FROSTING 101: TIPS & TRICKS TO KEEP IN MIND
For the burgeoning bakers out there, who want to try their hand at these frosting applications, here are a few tried and true tricks of the trade. We hope these help you in your cake-baking endeavors!
1) (Warm) Butter is Better: Make sure your butter is at room temperature (and this is usually a little cooler than you think). However, we know that sometimes cake emergencies arise and you’ll need to make frosting asap. Use your microwave to warm up the butter – just make sure not to let it get too soft or melt! One or two 8-10 second intervals should do the trick.
2) Level Your Layers: With any cake, be sure to slice the rounded top off the cake prior to assembling to ensure your cake will be structurally sound. You don’t want your layer cake to end up looking like the leaning tower of Pisa.
3) Keep Your Cool: Once you’ve stacked your cake, give it some time to rest in the refrigerator. The coldness will help keep the crumbs in before you start frosting.
4) Practice Your Spin Moves: A good turntable is key. Our lives changed forever when we upgraded to an Ateco turntable.
FONDANT 101
Fondant is a great finishing tool for a cake when you’re trying to achieve a seamless, smooth covering. It is a malleable sugar paste that can be rolled and molded to different shapes, which can be helpful when working with a sculpted cake (i.e. a cake that’s not your typical circular or square shape.) While a very common complaint about fondant is the taste, there is always meant to be a layer of frosting underneath it so it can easily be peeled off.
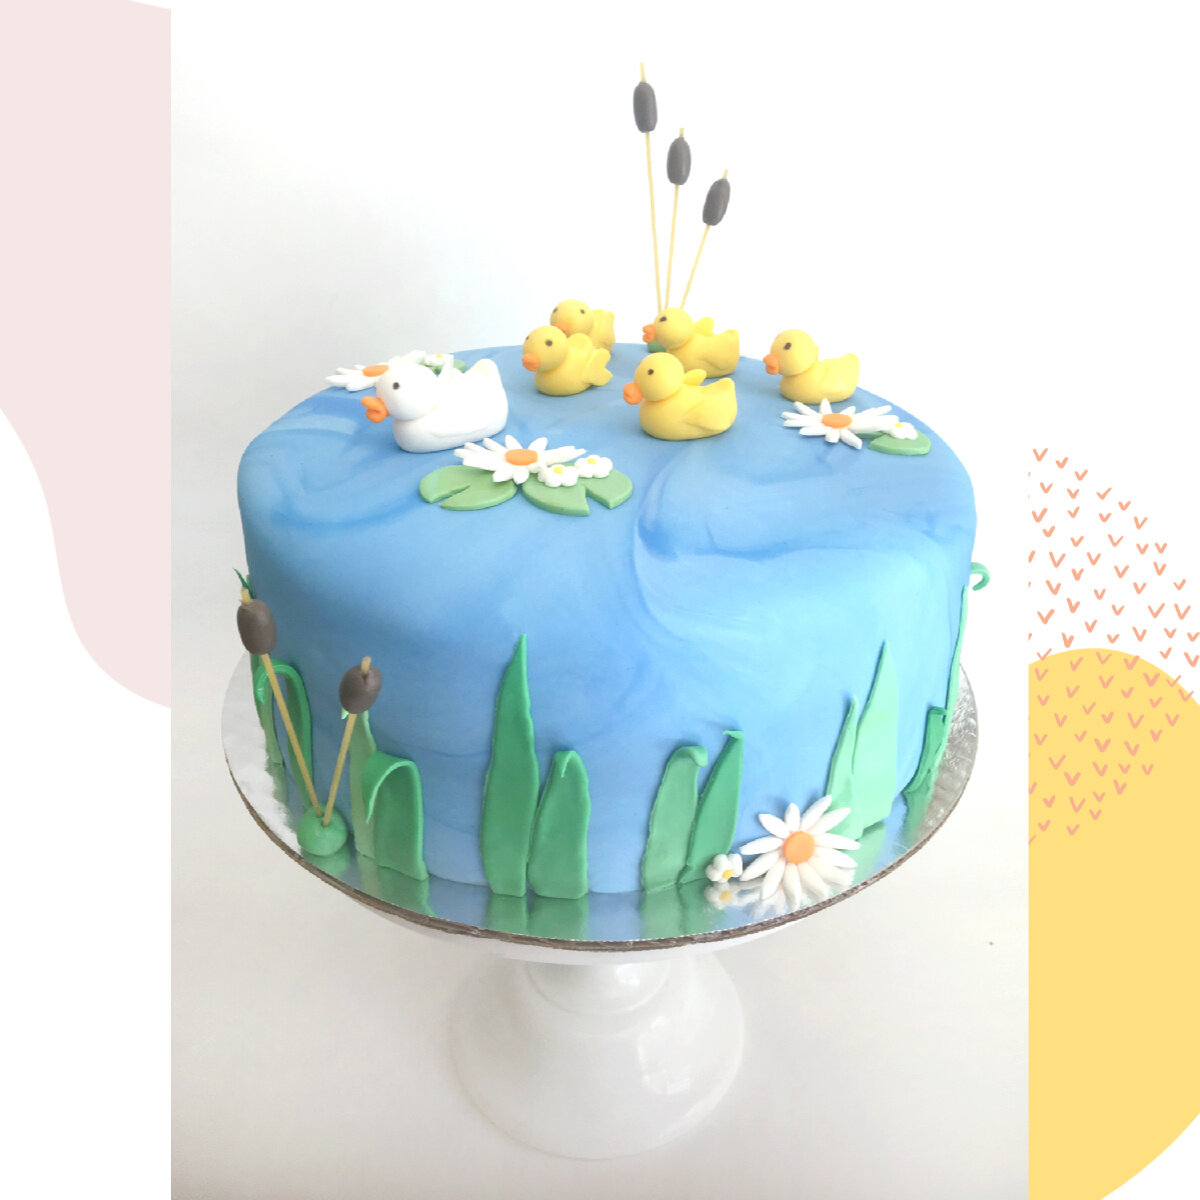
Working with fondant is admittedly not always our first choice. To be honest, we’ll always choose buttercream if there’s a way to achieve the desired design with buttercream, and not just because we prefer the taste of buttercream frosting. ;) Fondant can be challenging to work with and does not forgive imperfections as easily as buttercream. However, with fondant you can achieve really unique and exciting designs that simply aren’t an option with buttercream. As you can see from our cake below, we were able to create this really interesting texture by using fondant and wafer paper. This wouldn’t have been an option with buttercream.

FONDANT 101: TIPS & TRICKS TO KEEP IN MIND
● Rest is Best: When covering a cake in fondant, be sure that the layers are even and have time to “rest” in a refrigerated environment (ideally overnight) before putting the fondant on. This helps eliminate any bulges.
● Plan for Extra Time (plus a little more) When Making Decorations: And on that note, fondant takes its’ sweet time when it comes to hardening and trying to hurry the process along (i.e. like by placing it in the freezer - don’t do this!) isn’t going to make much of a difference. It simply needs time, so be sure to plan for additional resting.
● Focus on Finishings First: It’s so much easier to draw any details on your fondant decorations before placing them on the cake!
Whether you’re team #buttercream4life or #fondant4ever, we think there’s plenty of room for both camps. It all depends on what look you’re trying to achieve with your cake and there are certainly benefits to both buttercream and fondant. That said, we’ll never turn away from a buttercream taste-test. ;)
Yours sweetly,
Katherine & Missy